(I forgot to take some shots sometimes but I think that everybody should understand how I do!)
...la Fin!
(J'ai oublié parfois de prendre quelques clichés, mais je pense que tout le monde peut comprendre comment j'ai fait!)
(J'ai oublié parfois de prendre quelques clichés, mais je pense que tout le monde peut comprendre comment j'ai fait!)
The material:
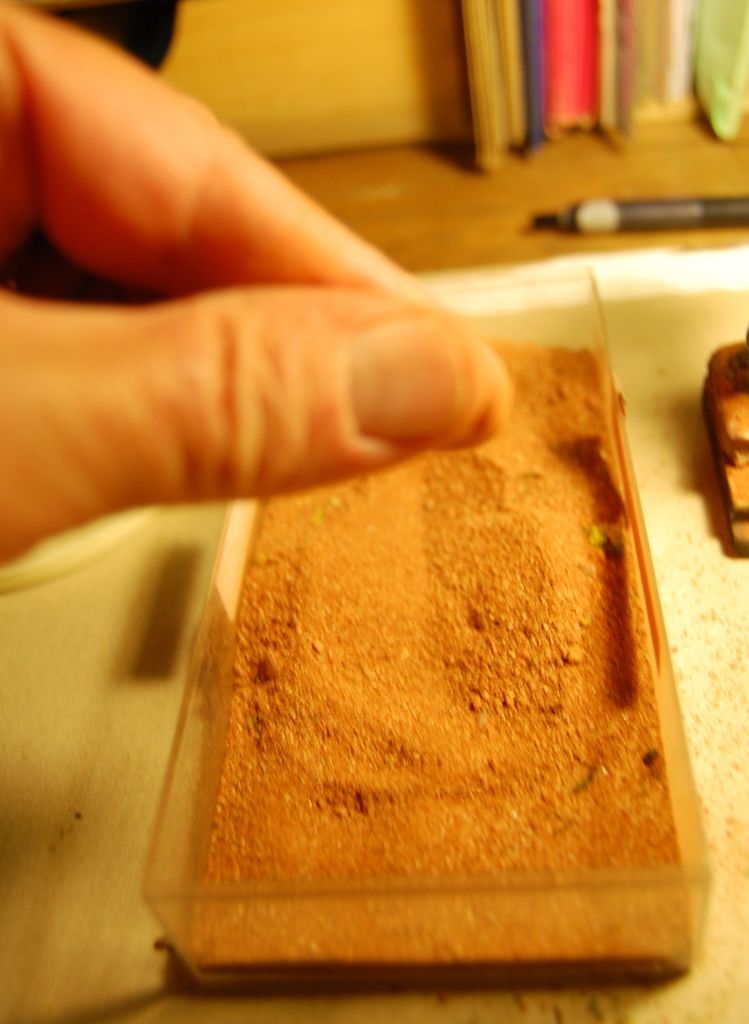 |
| very fine sand |
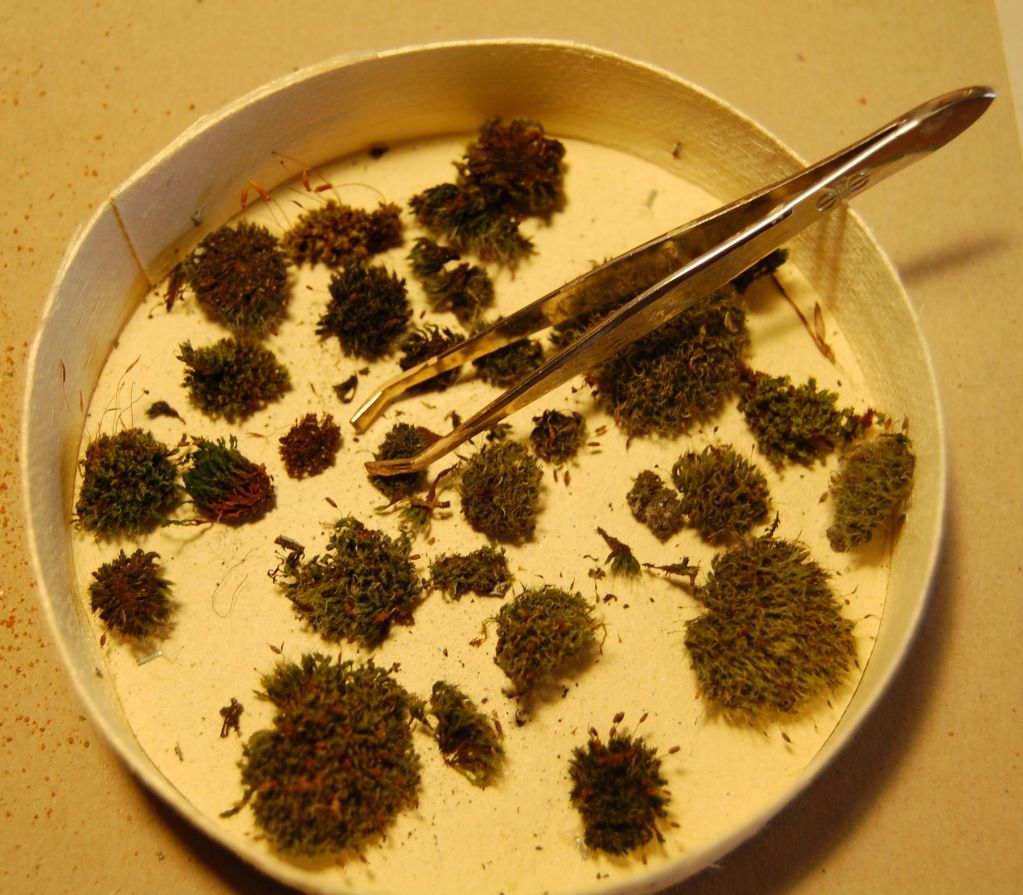 |
| small pieces of natural moss |
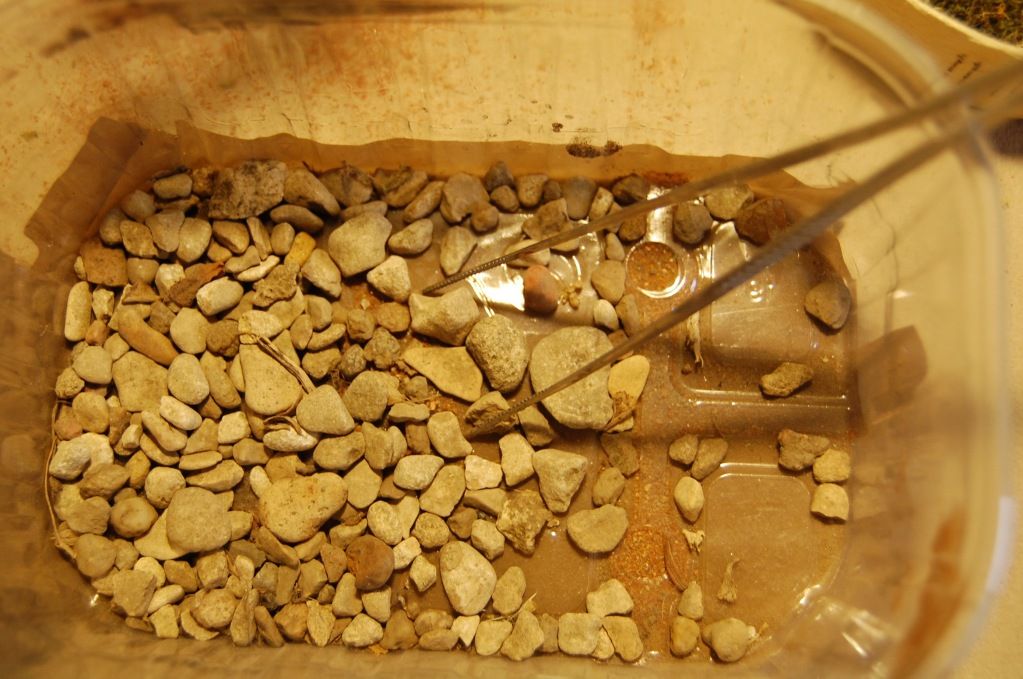 |
| little rocks |
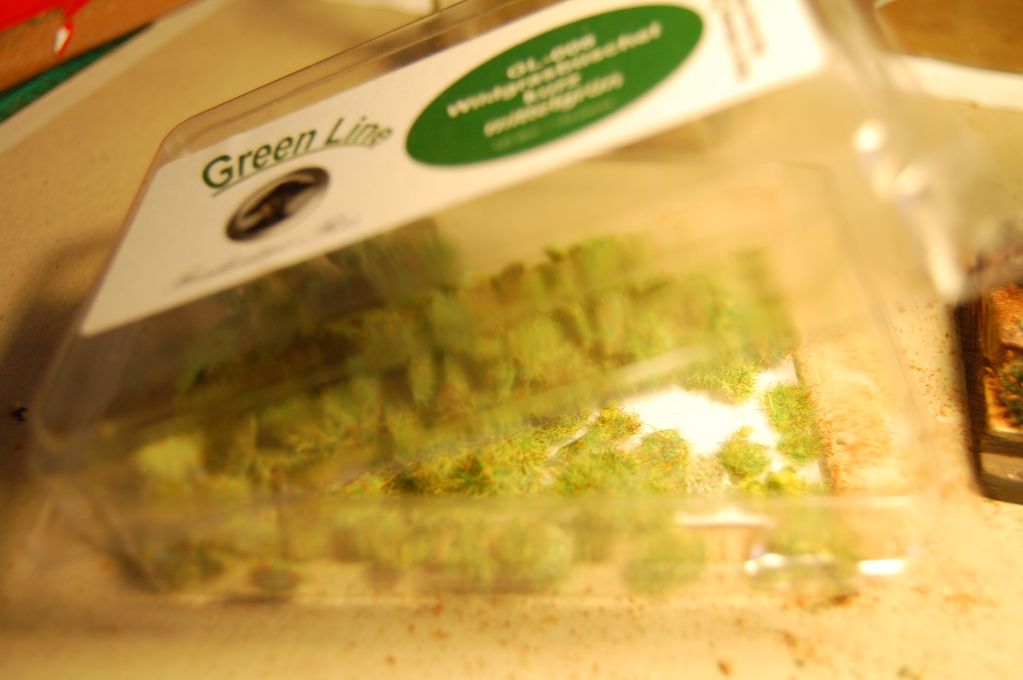 |
| small tufts of grass (Green Line Scenery) |
....et aussi de la colle à bois et un pinceau (les mêmes que dans la partie II!)
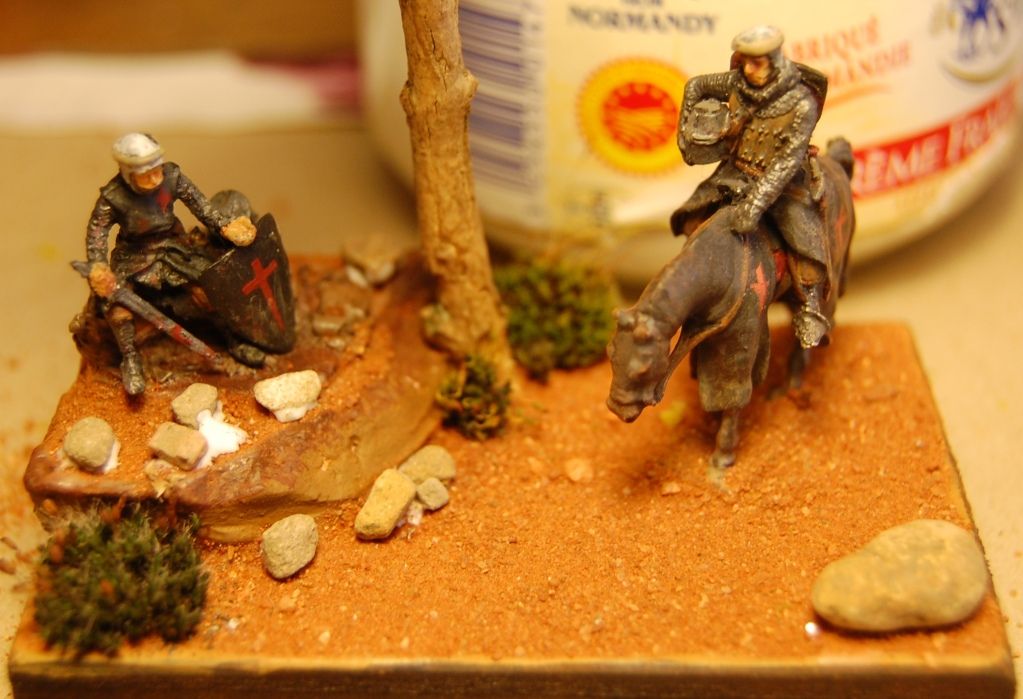
I had put on the base a great coat of glue, I've put the knights in place and then scattered
the sand with my fingers....
Après avoir mis sur la base une grosse couche de colle, j'ai mis les chevaliers en place et ensuite dispersé le sable avec mes doigts....
then I've added the rocks and the moss in some places with the tweezers (the most difficult was to hide more or less the base of both knights!)
puis j'ai ajouté les rochers et la mousse à certains endroits (le plus difficile était de cacher plus ou moins la base de deux chevaliers!
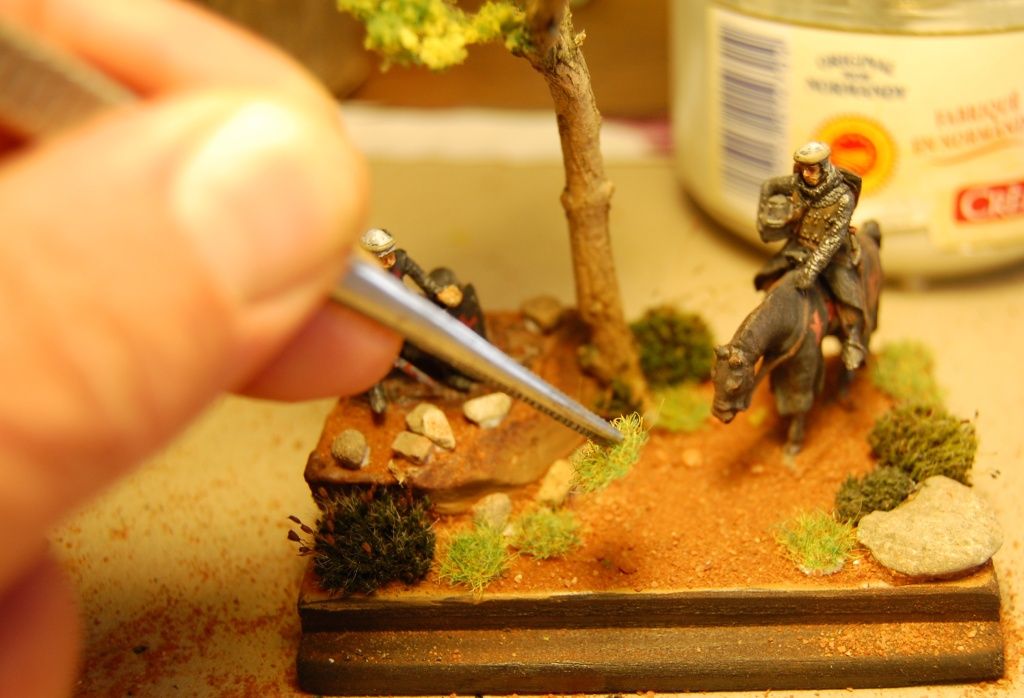
next step: the tufts of grass :
dernière étape :les touffes d'herbe:
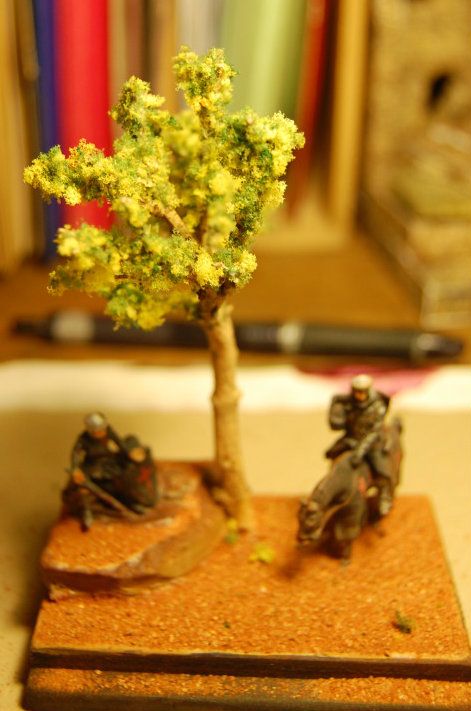
and I don't have pictures of the finished vignette!!!
(I will do some in the next post with closed pictures and ... daylight!)
et je n'ai pas de photos de la vignette terminée!
(Je le ferai dans le prochain post avec des photos de plus près et ... la lumière du jour!)
(Je le ferai dans le prochain post avec des photos de plus près et ... la lumière du jour!)
(If you are interested, I can show you how I do my very fine sand with a very simple way...)
(Si vous êtes intéressés, je peux vous montrer comment je fais mon sable très fin d'une façon très simple ...)
CLICK ON A PICTURE TO HAVE LARGER ONES IN A SLIDESHOW
ALL COMMENTS ARE WELCOME AND ALLOWED FOR EVERYBODY!
TOUS LES COMMENTAIRES SONT LES BIENVENUS ET AUTORISES A TOUT LE MONDE!


Quoi? Pas de photo finale? Et moi qui part en vacances...je verrai ça à mon retour, très beau travail en tout cas.
RépondreSupprimerPhil.
merci Phil!
Supprimerfaudra attendre becore un peu!
... peut-être que je vais te mettre un peu de sable dans les yeux avant!!!
à suivre...
I greatly appreciate your posting a tutorial Pascal. I learn so much from you gentleman this way.
RépondreSupprimerThis turned out wonderfully and I like that you use natural elements in your work. Looking forward to the final pictures!!
Thanks Anne!
SupprimerI'm a simple guy, I do simple things!
(and natural elements are cheaper than manufacturers ones!)
I will be happy if it's enough for you to create wonderful bases! (I know that you're able to do that!)
Very nice work-in-progress. A fine tribute to two battle weary soldiers.
RépondreSupprimerthanks Jay!
Supprimerwhen you have an idea, sometimes you think: "yes That's what I must do!" and sometimes you do it, and it's a great sensation!
I loved watching the development of this diorama, fabulous series of posts. Thank you.
RépondreSupprimerThanks Michael!
SupprimerI do because of you ! you push me forward and I have a lot of pleasure to share with you!
THANKS ALL !!
what a great little display. great work, I must get on with my own project now
RépondreSupprimerMerci pour le tuto !
RépondreSupprimerWhen warriors go to war it's all colour, sound and big crowds;
RépondreSupprimerIt's very clear to me that these are returning from war! :D
Good work!
very interesting, those little pieces used for making the setting and the surroundings have always been most interesting to me!
RépondreSupprimer